
14 Types of Soil Testing Every Construction Project Should Know
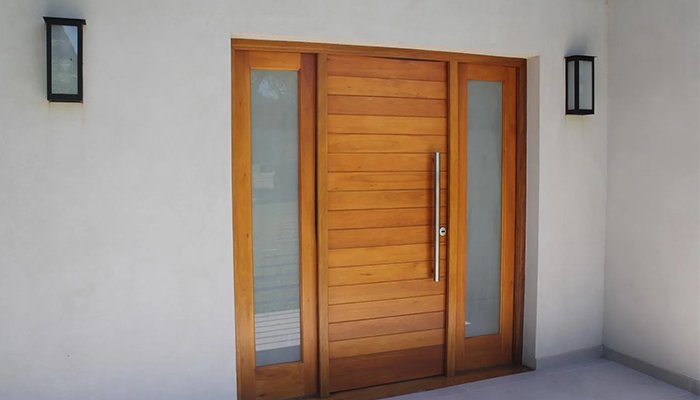
A construction project can look perfect on paper, with good design, quality materials and skilled labour on site. And yet, none of that matters much if the soil underneath was never properly checked. Foundation problems show up months or years later, as a crack along a wall, a door that no longer closes flush, or a slab that has started to tilt ever so slightly. By the time anyone notices, the actual cause is usually buried, quite literally, in a decision made before construction even began.
That decision is whether or not the ground was tested properly. Industry figures bear this out: nearly 70% of large infrastructure projects between 2025 and 2026 needed geotechnical investigation before approval was even granted, and soil testing alone now makes up more than two-fifths of all geotechnical service contracts globally.
That is precisely why, once you understand the types of soil testing available, it becomes much easier to see why engineers treat this step as non-negotiable rather than a box-ticking exercise.
What Are the Different Types of Soil Testing?
At its core, soil testing is a set of field and lab procedures used to figure out how strong, dense, and stable the ground is at a given site. Each test exists to answer fairly narrow questions, like:
- How much weight can this soil hold?
- What happens to it when water gets in?
- Will it settle evenly, or will one corner sink faster than the rest?
This makes it fairly easy to understand why, in 2026, nearly 62% of smart city and underground infrastructure projects implemented advanced geotechnical monitoring and slope stability assessment technologies.
But no single test answers all of these, which is why engineers usually run several in combination rather than picking just one.
|
Soil Test |
Purpose |
|
SPT |
Soil strength and density |
|
Plate Load Test |
Bearing capacity |
|
CPT |
Soil profiling |
|
CBR Test |
Road design |
|
Compaction Test |
Soil density |
|
Permeability Test |
Water movement |
|
Shear Strength Test |
Stability analysis |
What Is Soil Testing in Construction?
Soil testing in construction is the process of examining samples and site conditions before any structural work starts. It's the link between what an architect draws and what the ground can actually support once weight is added to it. Its importance can be understood by the fact that the Geotechnical Services Market is projected to expand at a CAGR of 8.79% between 2026 and 2035.
-
Definition of Soil Investigation
Soil testing means collecting samples and analysing their physical and mechanical traits, and these include things like:
- Density
- Moisture
- Particle size, and
- How much load can they bear
-
Objectives of Soil Investigation
A proper soil investigation for construction is meant to classify the soil type on site, work out its bearing capacity, locate the groundwater table, and get a sense of how the ground will behave once a structure sits on it for years.
Why Is Soil Testing Important Before Construction?
The importance of soil testing isn't abstract. It shows up directly in how safe, durable, and cost-effective a project turns out to be.
- Foundation safety: Confirms whether the existing soil can take the planned load without shifting underneath it.
- Soil bearing capacity: Tells engineers the maximum pressure the ground can handle per unit area.
- Groundwater assessment: Flags how deep the water table is, which changes excavation and waterproofing plans considerably.
- Structural stability: Cuts down the odds of tilting and cracking.
- Cost savings: A small upfront spend on testing is almost always cheaper than fixing a foundation later.
- Risk reduction: Catches problem soils, like expansive clay or loose sand, before they become someone else's emergency.
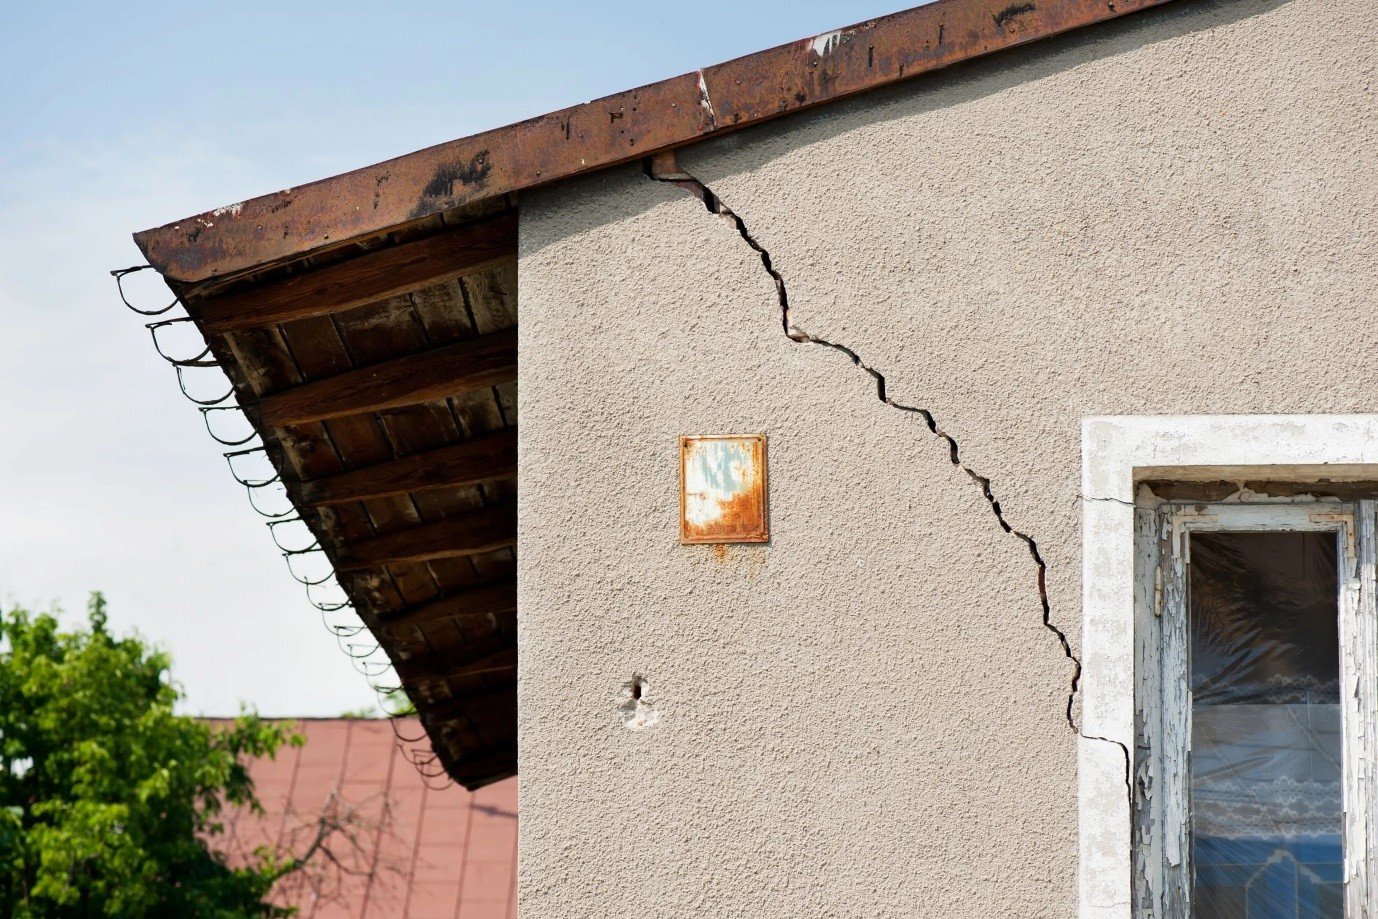
Take a building put up on undetected expansive clay: wall cracks can start appearing within two or three years, simply because the soil keeps swelling and shrinking with the seasons. An Atterberg Limits test, run early, would have caught this before a single wall went up.
Soil Testing Procedure: Step-by-Step
There's a fairly standard sequence here, starting broad and getting more specific with each stage. Skip a step, and the gaps tend to show up later in the report, or worse, on site.
|
Step |
Activity |
|
1 |
Site Reconnaissance |
|
2 |
Borehole Drilling |
|
3 |
Soil Sample Collection |
|
4 |
Field Testing |
|
5 |
Laboratory Testing |
|
6 |
Geotechnical Report Preparation |
-
Site Reconnaissance
This is the walk-through stage. Engineers look at the terrain, check historical land records, and form a rough idea of what they're dealing with before any drilling starts.
-
Borehole Drilling
Boreholes go down at several points across the site, since soil composition can shift quite a bit even within a small plot.
-
Soil Sample Collection
Both disturbed and undisturbed samples come out of these boreholes, one set for quick field checks and the other for the lab.
-
Field Testing
Tests like SPT and CPT happen right there on site, giving engineers an early read on strength and density without waiting for lab results.
-
Laboratory Testing
Samples then go to a controlled setting where their finer properties get measured with far more precision than is possible on site.
-
Geotechnical Report Preparation
Everything gets pulled together into a single report, with clear foundation recommendations that the design team can actually act on.
Types of Soil Testing Used in Construction
Soil tests generally fall into two groups: ones done on site, and ones done in a lab afterwards. Both matter, and together they form the backbone of a sound soil analysis for construction.
Field Soil Tests
These are quick by design, and because they're done on undisturbed ground, they often reflect real conditions more faithfully than a sample that's been moved and retested elsewhere.
-
Standard Penetration Test (SPT)
A hammer drives a split-spoon sampler into the ground, and the number of blows needed tells engineers how dense and resistant the soil is. It's one of the most common tests used for foundation work in sandy and clayey soils, mostly because it's quick and the equipment is widely available.
-
Cone Penetration Test (CPT)
A cone-tipped probe gets pushed steadily into the ground while sensors log resistance the whole way down. The result is a continuous soil profile rather than readings at scattered intervals, which makes CPT especially useful on larger infrastructure jobs where layered soil needs mapping in detail.
-
Plate Load Test
A rigid plate is placed on the ground and loaded in stages, with settlement measured at each step. This gives a fairly direct read on bearing capacity right beneath where a foundation will come, which is why it's a regular feature of shallow foundation design.
-
Vane Shear Test
A vane-shaped blade is rotated into soft, cohesive soil, and the torque needed to turn it reveals shear strength. It tends to show up most on marshy or soft clay sites where other tests struggle to get a clean reading.
-
Percolation Test
Water gets poured into a test pit, and someone times how fast the level drops. The result matters a lot for anything involving drainage or septic systems, since slow-draining soil can cause problems long after construction ends.
Laboratory Soil Tests
Lab tests take the rough field data and sharpen it into numbers that engineers can actually design around.
-
Moisture Content Test
A sample gets weighed, dried in an oven, then weighed again. The difference shows how much water it was holding, which feeds directly into compaction and strength calculations.
-
Specific Gravity Test
Using a pycnometer under controlled conditions, this test compares the density of soil particles against water. It's a small but necessary input for soil classification and void ratio work.
-
Grain Size Analysis Test
Soil gets passed through a stack of graded sieves, or analysed through sedimentation, to work out how much gravel, sand, silt, and clay it actually contains. That breakdown often guides which foundation type makes sense.
-
Atterberg Limits Test
Samples are tested at different moisture levels to find the points where soil shifts between solid, plastic, and liquid states. This test is particularly important for catching expansive or unstable clay before it becomes a structural headache.
-
Compaction Test
Soil is compacted in layers inside a mould at varying moisture content until engineers find the moisture level that gives maximum density. Road embankments and fill work rely on this heavily.
-
Permeability Test
Water is passed through a sample under controlled pressure, and the flow rate is recorded. Anything involving drainage design or seepage control depends on this number being right.
-
Shear Strength Test
Through direct shear or triaxial testing, soil is loaded until it starts to slide or deform. The results matter most for slope stability and retaining wall design, where getting this wrong has visible consequences fast.
-
Consolidation Test
A sample is compressed gradually over time, with settlement tracked at each stage. This is how engineers predict long-term settlement.
-
California Bearing Ratio (CBR) Test
A piston is pushed into compacted soil, and the resistance is compared against a standard crushed-stone benchmark. It's the test of choice for pavement and road design, including highways and runways.
For accurate results, samples should be tested in a certified setup. If you need professional support, HiDPL provides a dedicated soil testing lab for construction projects, foundation planning, and geotechnical investigation
Field Tests vs Laboratory Tests
Neither category replaces the other; they work better as a pair. Field tests give engineers something to act on quickly, while lab tests fill in the precision that field conditions can't always offer.
|
Parameter |
Field Tests |
Laboratory Tests |
|
Location |
On Site |
Laboratory |
|
Purpose |
Immediate Assessment |
Detailed Analysis |
|
Time Required |
Lower |
Higher |
|
Accuracy |
Moderate |
High |
|
Examples |
SPT, CPT |
CBR, Atterberg Limits |
Which Soil Test Is Used for Different Construction Projects?
Not every project needs the same depth of investigation, and treating a small residential build the same way as a high-rise tower would be overkill. The right soil testing methods depend largely on scale and load.
|
Project Type |
Common Tests |
|
Residential Buildings |
SPT, Moisture Content |
|
Commercial Buildings |
SPT, Plate Load |
|
Roads & Highways |
CBR, Compaction |
|
Industrial Projects |
Complete Geotechnical Investigation |
|
High-Rise Buildings |
Deep Boreholes, SPT, Settlement Analysis |
A single-storey home might only need a basic SPT and a moisture check. A high-rise, on the other hand, demands deep boreholes and detailed settlement analysis, simply because the load it places on the ground is in a different category entirely.
How Soil Test Results Affect Foundation Design
Soil testing before construction is essential because once the data comes back, structural engineers use it to decide which foundation system actually fits the site, rather than defaulting to whatever was used on the last project.
-
Shallow Foundation
Works well when the soil near the surface already has enough bearing capacity, typically for smaller, low-rise buildings.
-
Raft Foundation
Spreads the load over a wider area when the bearing capacity is moderate. Settlement still needs to be kept in check.
-
Pile Foundation
Comes into play when the surface soil is too weak, and loads need to be carried down to stronger layers further below.
-
Combined Foundation
Used when columns are close together, and separate footings would otherwise overlap or get in each other's way.
The foundation soil testing report tells engineers how deep to go, how wide to spread, and how much strength the foundation actually needs, long before the first brick is laid.
Common Problems Identified Through Soil Investigation
- Weak bearing capacity that can't hold the intended load
- Expansive soil that swells and shrinks as moisture levels change
- Loose sandy soil that's prone to liquefaction during seismic activity
- Settlement-prone soil that causes gradual, uneven sinking
What Happens If Soil Testing Is Ignored?
Skipping a proper soil test for construction rarely saves money. It just moves the cost further down the timeline, usually with interest.
- Foundation cracks, uneven settlement, and visible structural damage are the common results when ground conditions are assumed instead of measured.
- Underpinning a sinking foundation later can cost several times more than the original investigation would have.
- Delays follow, too, since fixing a ground issue often means stopping other site work until it's resolved.
- A retaining wall built without a shear strength check, for instance, might start bulging or even fail by its first monsoon season, simply because nobody tested what was holding it back.
Expert Tips Before Conducting Soil Testing
- Bring in a licensed geotechnical engineer instead of guessing based on what nearby sites looked like.
- Drill at several points across the site, not just one spot near the centre.
- Test in both dry and wet conditions to determine if groundwater fluctuates seasonally.
- Match testing depth to the expected height and load.
FAQs
Q1. What are the main types of soil testing?
The most common ones include SPT, CPT, Plate Load Test, Atterberg Limits Test, and the CBR Test.
Q2. Which soil test is required before construction?
Most projects need at least an SPT along with moisture content and bearing capacity checks.
Q3. What is the difference between SPT and CPT?
SPT relies on hammer blow counts taken at set intervals. CPT pushes a cone steadily into the ground and records resistance continuously.
Q4. What is a geotechnical investigation?
Geotechnical investigation is the wider process of studying subsurface soil, rock, and groundwater conditions.
Q5. How deep should soil testing be conducted?
It depends on the building. Residential projects often only need testing down to 4-6 metres. High-rise structures may require boreholes well past 20 metres.